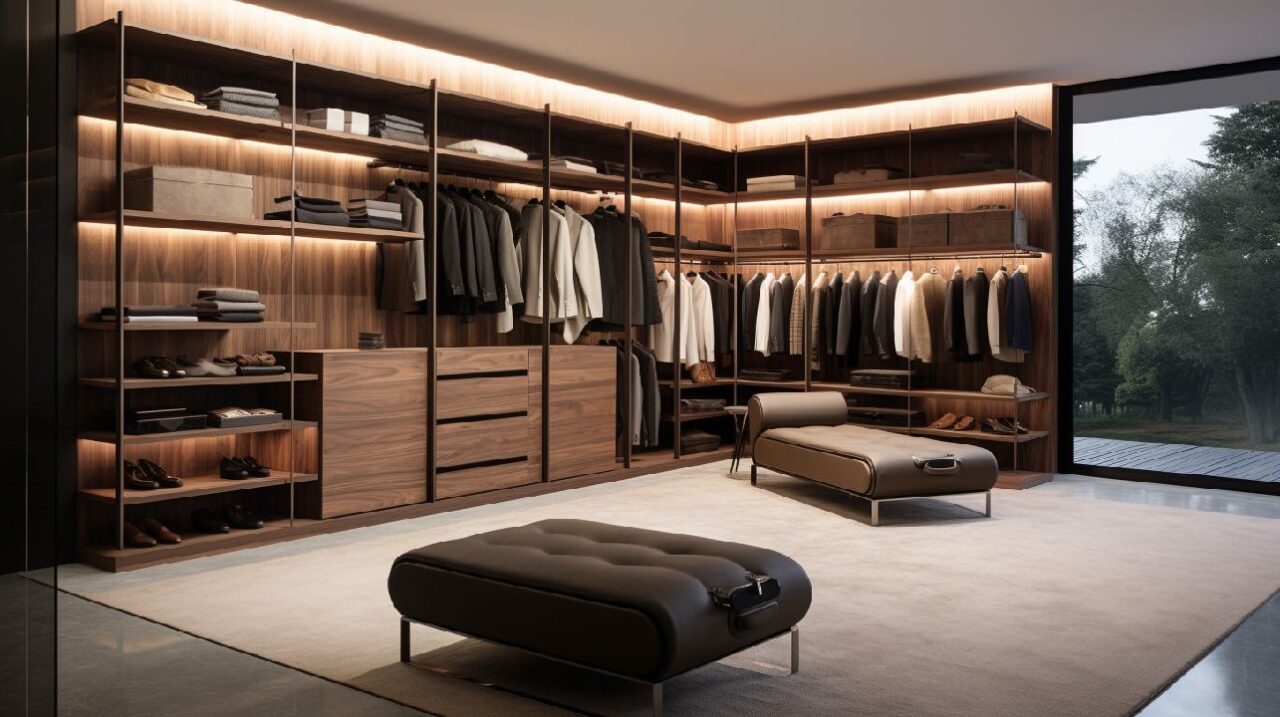
Built-In Wardrobes: Measure Depth, Doors, and Storage
Published
Plan a made-to-measure wardrobe by measuring the wall at several points, choosing a door system that suits the room, then assigning space to the clothes and items you actually store. A depth of about 60 cm (24 in) usually accommodates a standard clothes rail and hangers facing forward; shallower designs need a different hanging arrangement. Record the usable wall dimensions, the space in front of the wardrobe and the heights and widths of each interior section before asking for a quote.
Measure the wall, not just the floor
Start with a sketch of the wall and mark its full width and height. Measure the width near the floor, at the middle and near the ceiling; repeat at the left, center and right for height. Walls and floors are rarely perfectly square, so base the initial design on the smallest width and height you record. Note where you took each measurement instead of writing down a single unexplained number.
Measure from the finished floor to the ceiling, not from the top of a skirting board. Record the skirting’s height and projection, plus any coving, pipes, sockets, switches, vents or uneven sections that might affect the cabinet or its installation. Mark nearby doors and windows, including their trim and the direction in which doors open. If the wardrobe will sit wall to wall, identify whether the quote includes scribing or fillers to cover gaps at uneven edges.
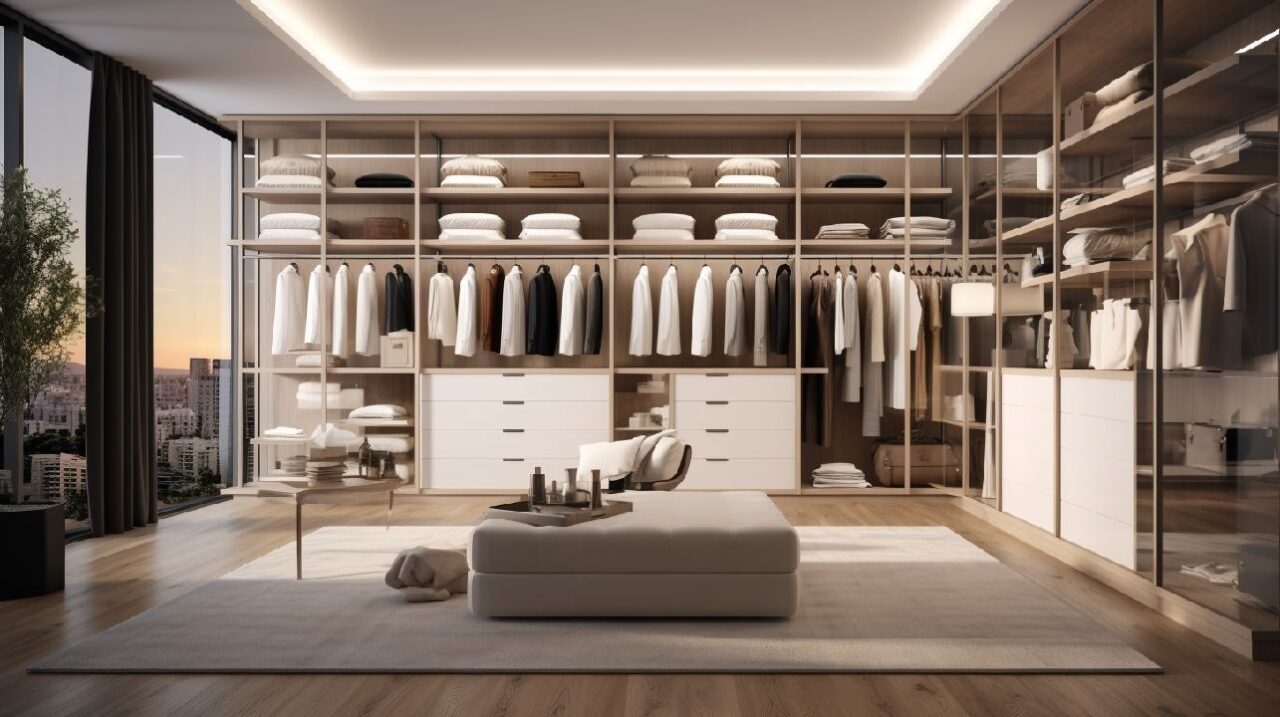
- Take three width measurements and three height measurements; write down where each was taken.
- Measure obstacles from a fixed corner or the floor, and note their width, height and projection.
- Mark the proposed wardrobe front on the floor with masking tape to test how much room remains.
- Photograph the wall straight on and include a tape measure or labelled sketch for reference.
For a sloping ceiling or a wall that changes depth, make a simple elevation drawing: a front view with the width and height measurements, plus a side view showing projections. A made-to-measure cabinet can follow a roofline, but the sloped section may reduce useful hanging or shelf space. Show the lowest ceiling point and where the slope begins rather than estimating from a photograph.
Choose depth and doors together
For clothes hung facing forward, allow roughly 60 cm (24 in) of overall depth as a starting point. Check whether a quoted depth includes the door, handles and any back panel: the clear interior is smaller than the outside measurement. A sliding-door track also uses some front-to-back depth, so confirm the usable depth behind the track rather than assuming a sliding wardrobe has the same hanging space as a hinged one.
A shallower wardrobe can work when the room cannot spare that depth, but plan the rail around it. In a cabinet around 45–55 cm (18–22 in) deep, a front-to-back pull-out rail may be more practical than a conventional rail running from side to side. Test the arrangement with the actual hanger type you use. Bulky coats and wide hangers need more room than slim garments, and the door must close without pressing clothes against the back.
Hinged doors give access to the full opening but swing into the room. Allow space for the door leaf and for a person to stand in front; a clear zone of about 75–90 cm (30–35 in) is a useful planning target, adjusted for the door width and nearby furniture. Sliding doors avoid a swing arc, which can help in a tight room, but usually expose only part of the interior at a time. Compare both systems on a floor plan with beds, drawers and walkways marked.
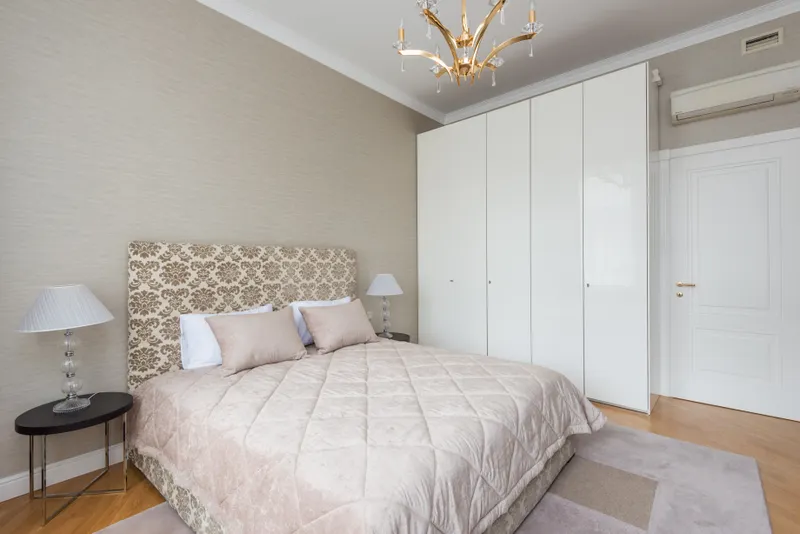
Door choice affects more than the view of the wardrobe. A drawer positioned behind a sliding panel may be inaccessible until the panel moves, while a hinged door can block a bedside table or interrupt a route through the room. Sliding-door measuring instructions and a fitted-wardrobe planning guide are useful checks when preparing dimensions; still have the installer confirm the final opening, track and fixing details.
Allocate hanging space by garment length
Draw the interior as separate vertical bays, then assign each bay a job. Two short-hanging sections, one above the other, make better use of height for shirts, folded trousers on hangers and jackets. Long dresses and coats need a clear uninterrupted drop, so measure a representative garment from the rail to its hem instead of copying a generic wardrobe diagram. Include space above the rail for the hanger hook and your hand.
- Short hanging: allow about 90–105 cm (35–41 in) clear height for shirts and jackets.
- Long hanging: allow about 140–170 cm (55–67 in), then adjust for the longest coat or dress you own.
- Double hanging: plan two short-hanging zones, each about 90–105 cm (35–41 in) high, with a divider or shared support where needed.
- Top shelf: leave about 35–45 cm (14–18 in) of clear height for bags or seasonal storage, and check that it remains reachable.
- Shoe shelf: start with about 18–22 cm (7–9 in) of clear height for low shoes; measure boots separately.
These are starting dimensions, not fixed rules. Measure a long garment on its hanger and add a little clearance so its hem does not brush the floor or a shelf. For a double-hanging bay, check the combined height of both rows and the central divider before specifying the overall unit. If you store storage boxes on the top shelf, measure the box rather than choosing the shelf height by eye.
Set shelf and drawer dimensions
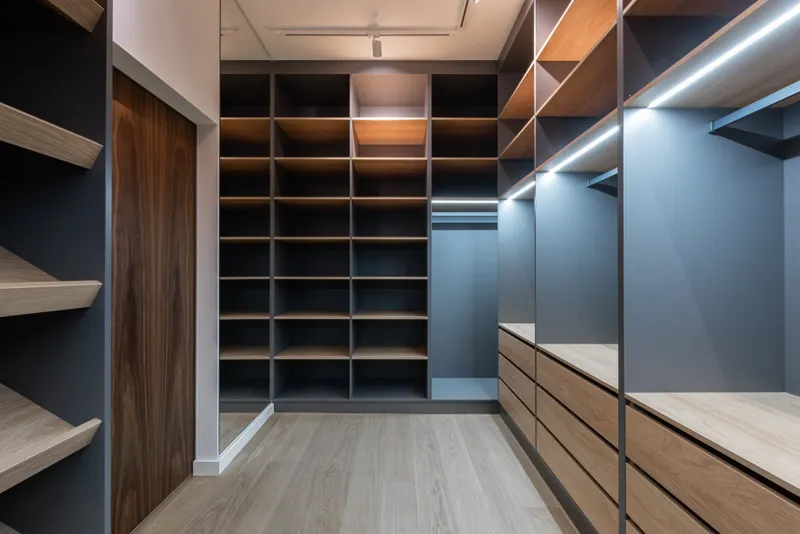
Shelf spacing should reflect what will sit on each shelf. Fold a typical stack of sweaters and measure its height; leave a little room above it so items can be removed without dragging across the next shelf. Adjustable pin holes make later changes easier, but specify fixed dividers where the structure needs support or where a shelf position must line up with drawers. Note whether the shelves are intended for folded clothes, bags, linens or boxes.
Drawers are useful for smaller items, but their depth and position matter as much as their count. Allow around 15–20 cm (6–8 in) of front height for many everyday clothing drawers, and around 20–25 cm (8–10 in) for bulkier items. Confirm the internal drawer depth and the space needed to pull it fully open. A drawer below hanging clothes should not collide with hems; one behind a hinged door needs enough room to open with the door in its intended position.
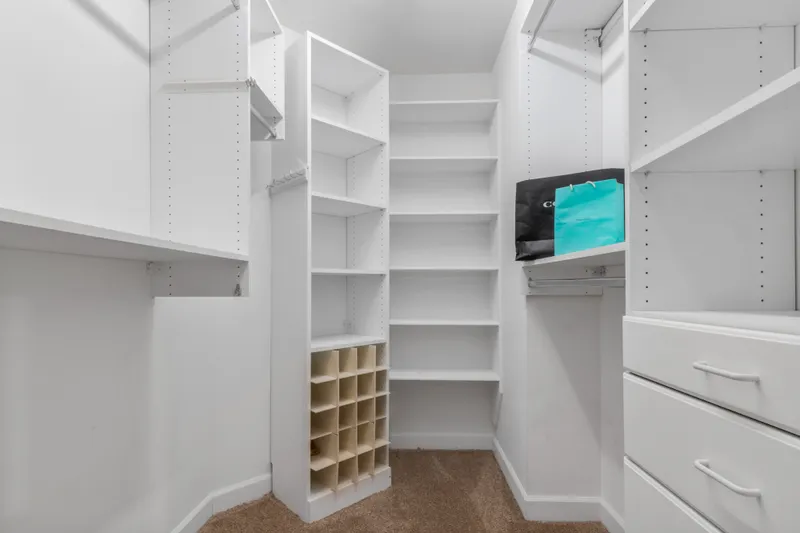
A simple interior schedule prevents a quote from describing only a box with doors. Write down the number of rails, shelves and drawers, their approximate positions, and which spaces need adjustment. Include any laundry basket, shoe rack or accessory tray you expect to use; these can change clearances and take up space that might otherwise be assigned to hanging.
- Measure one folded stack, one storage box and the tallest item planned for each zone.
- Specify shelf clear height, not just the distance between shelf centers.
- Check that drawer fronts and handles clear the door and nearby furniture when fully open.
- Keep frequently used items between about 60 and 180 cm (24 and 71 in) from the floor when the layout allows.
Prepare a quote-ready specification
Send a labelled sketch with the minimum wall width and height, the depth available, and the positions of skirting, sockets, pipes and other obstructions. State whether the measurements are from finished surfaces and whether the floor or wall is uneven. Ask the maker to confirm the final external dimensions, usable internal depth, door clearances, installation method and any access needed to bring panels into the room.
List the interior in plain language: for example, two short-hanging bays, one long-hanging bay, four adjustable shelves and a drawer stack. Add the clear heights you measured for garments and boxes, and say which measurements are essential versus flexible. This makes it easier to compare proposals by layout and usable space without treating a single overall width as the whole specification.
If a scaled drawing would help before you finalize the specification, explore Portuguese 3D room planning from a Portuguese interior design studio; viewing a room project in three dimensions can help reveal a blocked drawer or door collision.
Before requesting a quote, tape the intended front edge on the floor once more and check the route past the bed, room door and any radiator. Keep the sketch, measurements and photographs together, and ask the wardrobe maker to verify site dimensions before manufacture. The maker’s final survey should resolve construction details; your own measured brief makes the intended storage and room clearances explicit.
Questions
- Can a wardrobe be shallower than 60 cm (24 in)?
- Yes, if the hanging system matches the available depth. A shallower cabinet may need a pull-out rail, and you should check that hangers and garments fit behind the closed doors without being compressed.
- Should wardrobe depth include the doors?
- Record both the overall external depth and the usable internal depth. Ask the maker to state whether the quoted figure includes doors, handles, back panels and sliding tracks.
- How much room should I leave in front of a wardrobe?
- For hinged doors, allow room for the door swing as well as standing access; about 75–90 cm (30–35 in) is a useful starting zone. Sliding doors avoid the swing, but still need clear access for reaching inside.
- Is it better to have more shelves or drawers?
- Base the mix on the objects you store. Shelves suit folded stacks, bags and boxes; drawers keep smaller items contained. Measuring a typical stack and the contents of a drawer before planning helps set useful clear dimensions.