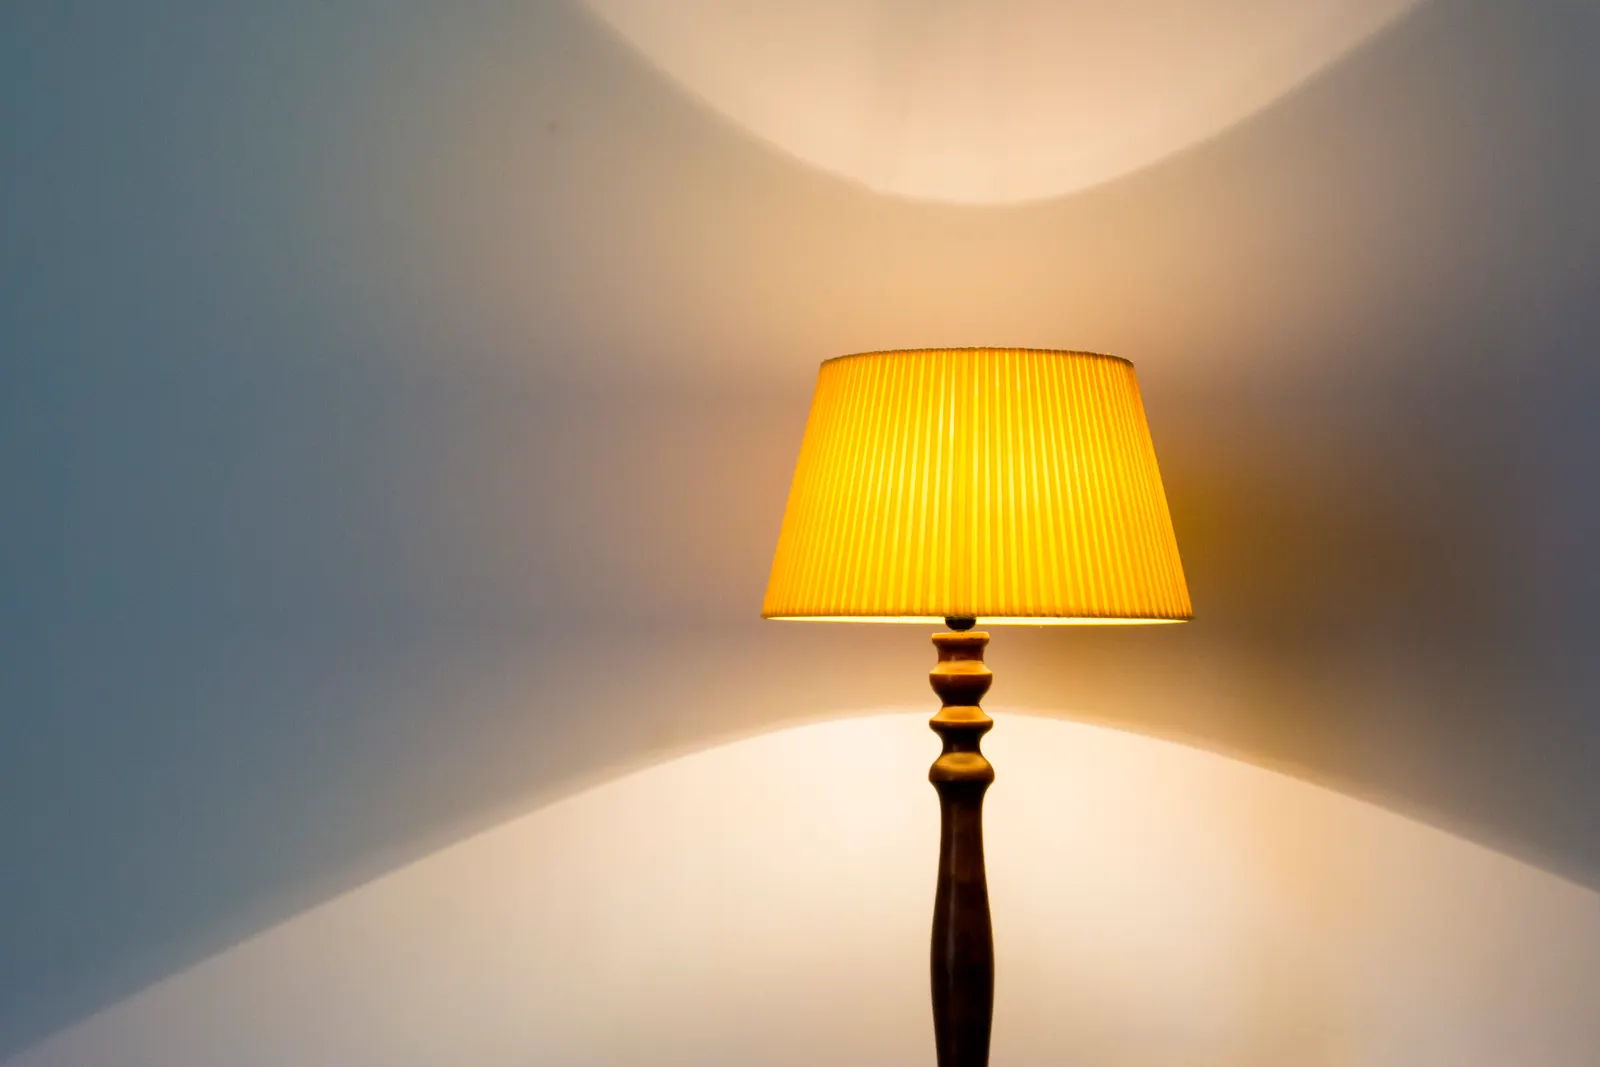
White Balance Indoors: Why White Walls Look Yellow
Published
White walls look yellow indoors when warm bulbs illuminate them and the camera records that warm cast instead of neutralizing it. Set white balance for the light on the wall, remove competing light sources where possible, and use a gray reference or RAW editing for finer correction.
White balance is the camera’s color correction
Light has color, even when it looks white to your eyes. Color temperature describes that color on a kelvin (K) scale: lower values look warmer and more amber, while higher values look cooler and bluer. A typical warm household bulb may be labeled around 2,700 K or 3,000 K; daylight varies, but a daylight setting is commonly near 5,500 K. Check the bulb’s packaging for its correlated color temperature (CCT), the label used to describe its appearance. The U.S. Department of Energy’s bulb guidance discusses choosing light by CCT, and Nikon’s white-balance guide explains how a camera adjusts color to suit the light.
A camera does not know that a wall is meant to be white. Its white-balance setting estimates the color of the illumination, then shifts the recorded colors to make a neutral subject look neutral. If a room is lit by a warm bulb but the camera is set for daylight, the correction is too small and the wall stays yellow. Auto white balance may get close, but a large white surface, colored furnishings, or a warm lamp in the frame can lead it to choose a different balance from shot to shot.
Find which light is making the wall yellow
Start with a quick comparison rather than changing settings at random. Photograph the same patch of wall with the room lights off, then with them on. Keep the camera in the same place and use the same exposure mode. If the wall looks neutral with the lights off and amber with them on, the bulb is the main cause. If the cast remains, look for light bouncing off a wood floor, a colorful sofa, curtains, or a painted surface. White paint reflects the colors around it, so the wall may record warm even when the bulb itself is not especially warm.
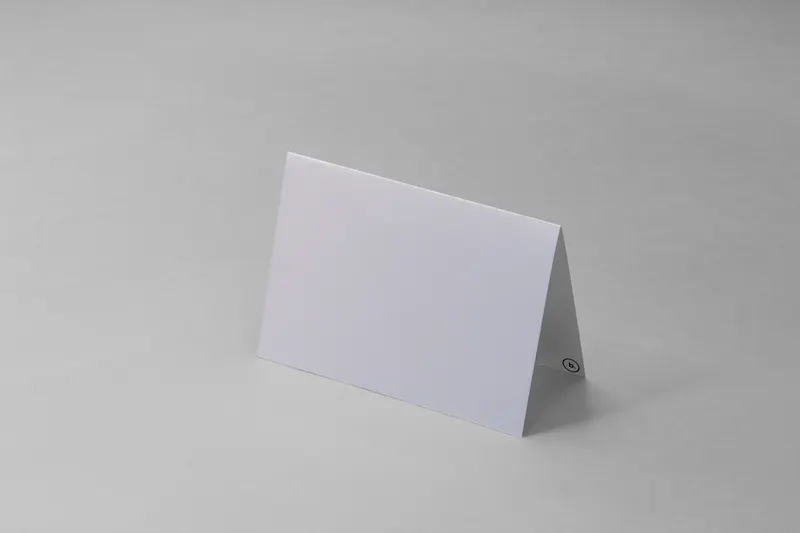
Check several parts of the room, not only the brightest patch. A wall near a window can look cool on one side and yellow near a lamp. Photograph a neutral object—a plain white or gray sheet, for example—at the wall and near the window. If the two versions show different casts, you have more than one kind of light in the scene. A small matte gray card around 15 × 20 cm (6 × 8 in) gives a more reliable reference than glossy paper, which can reflect glare.
- Turn off the lamps and make a test frame; note whether the wall changes.
- Turn the lamps back on and compare the same area at the same exposure.
- Look for colored surfaces close to the wall that can reflect a cast.
- Check whether the cast is consistent across the frame or changes by location.
Choose one light source before you set balance
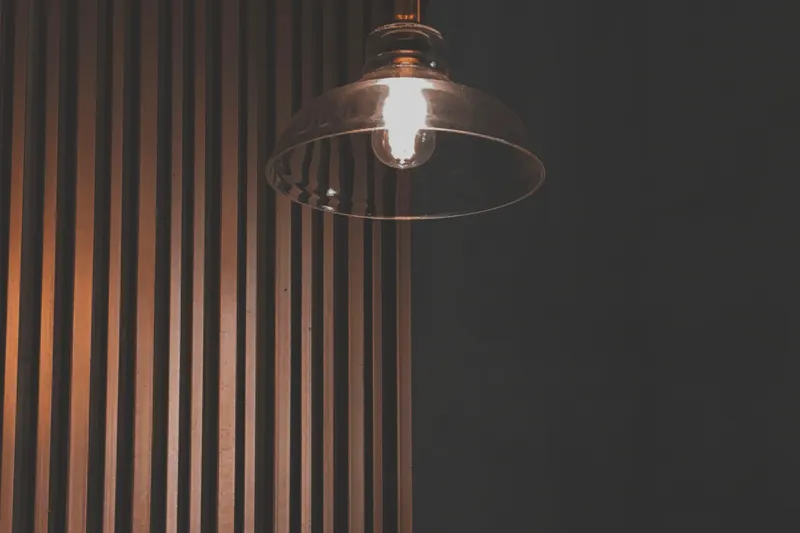
Daylight from a window and warm lamps often disagree. A camera’s white-balance setting applies one overall correction to the image; it cannot make two differently colored light sources neutral at the same time. If the window lights one side of a room and a lamp lights the other, correcting the window side can leave the lamp side orange. The reverse can make the window-lit area look blue.
For a neutral wall, simplify the light before you correct it. Turn off the lamps and use window light, or close the curtain and use the room lamps. Avoid mixing a ceiling light with a table lamp if their color differs. If the window is much brighter, move the subject or camera so the wall is lit more evenly; a sheer curtain can soften incoming daylight, while a closed blind can reduce it. Keep the camera’s white-balance setting fixed during a sequence so the color does not jump between frames.
- Choose daylight or artificial light as the main source.
- Switch off other lamps that create a visibly different color.
- For a window-lit picture, place the subject or reference card in the same light as the wall.
- Take a test frame and inspect both the bright and shadowed areas.
Set a custom white balance with a gray card
A gray card gives the camera a known neutral reference under the light you are using. Put it where the wall or subject will be, facing the camera, and make sure it receives the same light. Do not hold it beside the camera if the subject is several steps away or lit differently. A white sheet can work in a pinch, but paper may contain optical brighteners or a slight tint, so it is less dependable as a reference.
Camera menus vary, but the process is similar: photograph the card, choose the camera’s custom or preset white-balance option, and select that frame as the reference. Some cameras ask you to fill a marked area of the frame with the card; follow the on-screen instructions. Remove the card and photograph the scene without changing the light. On a phone, lock white balance if the camera app offers that control; otherwise, use a consistent light source and adjust the color in editing.
- Place the matte gray card at the wall or subject position, under the chosen light.
- Make a frame with the card filling the required area; avoid glare and deep shadow.
- Set that frame as the custom white-balance reference using the camera menu.
- Keep the lighting and camera position unchanged for the photographs that follow.
Use RAW files for a precise edit
A RAW file keeps more image information for later adjustment than a finished JPEG, so it is useful when indoor color is uncertain. Set the camera to RAW, or RAW plus JPEG if you want an immediately shareable file. In an editor, adjust the Temperature control until neutral areas lose their yellow or blue cast. Then use Tint to correct a green or magenta shift; Temperature and Tint address different directions of color, so changing one may not solve the other.
If the editor has a white-balance eyedropper, click a gray-card area that is evenly lit and free of glare. Apply that correction to other frames made under the same light. If the wall itself is the only neutral reference, sample a clean, evenly lit section, not a highlight or a deep shadow. Avoid forcing every wall to pure display white: paint has an undertone, and a bright window may clip detail before the wall reaches a uniform white. A restrained correction should neutralize the unwanted cast while keeping natural differences in the room.
- Before shooting, choose one main light source and make a test frame.
- Use a custom balance from a gray card when color needs to match across a set.
- If the result still needs work, adjust Temperature first and Tint second in the RAW editor.
- Compare the corrected wall with a neutral reference and check that nearby colors still look believable.
Questions
- Why does my phone keep changing the wall color between photos?
- Many phone cameras use automatic white balance and may recalculate it when the framing changes. Keep the lighting steady, lock white balance if your camera app allows it, or make a consistent correction while editing.
- Can I use plain white paper instead of a gray card?
- You can use it as a rough check, but paper may have a blue or warm tint and can reflect glare. A matte neutral gray reference is generally more dependable for setting a custom balance.
- Will correcting white balance remove every yellow patch in a room?
- No. A global white-balance adjustment cannot fully neutralize areas lit by different sources at once. Reduce mixed lighting before capture, or make separate local adjustments in an editor.
- Should I make every white wall look pure white?
- Not necessarily. Paint can have a real warm or cool undertone, and shadows naturally differ from lit areas. Aim to remove an unwanted lighting cast without erasing those details.
 Frame 1