Photographing a Room With One Window: Where to Stand and When
Published
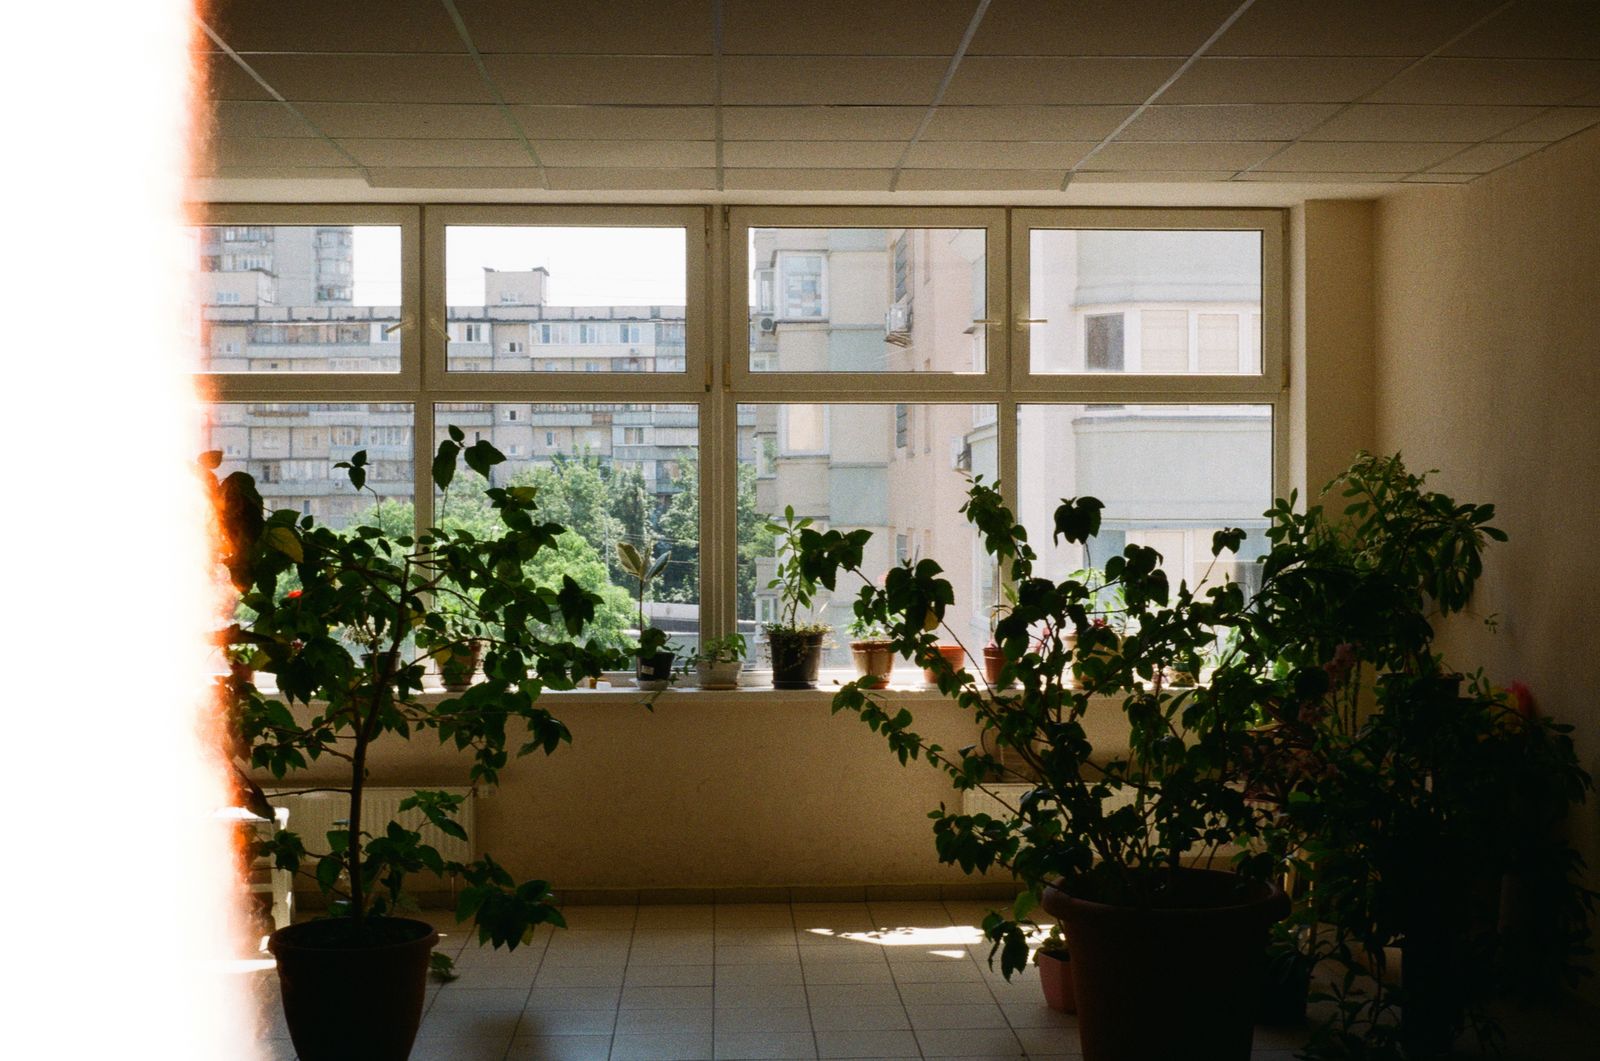
For an evenly lit room, stand with the window behind you; for visible shape and texture, put it to one side; point toward it only when you want the window in the frame and can manage a bright background. Choose the time by watching where direct sun falls, not by chasing a particular hour. A single window is a large light source, but its direction, the room’s surfaces and your camera position decide whether the image looks flat, dimensional or high-contrast. These simple tests help you pick a position and exposure using daylight, a camera or phone, and an optional white card.
Read the window before moving furniture
A window lights objects most strongly when they have a clear view of its bright opening. Light also spreads across the room and reflects from walls, ceilings and floors, so a white or pale surface can soften the shadows while a dark wall absorbs more light. A glossy tabletop may throw a bright reflection into the frame; a matte surface usually gives a calmer result. Before composing, note the window’s size, the direction it faces, any sheer curtain, and whether a beam of direct sun reaches the floor or furniture.
Make a quick map from the doorway. Mark the window, the main subject—such as a bed, table or reading chair—and the direction you want the camera to face. Keep the furniture in place for the first test. A small change in camera angle often removes a distracting reflection or gives the room a clearer sense of depth without requiring a full rearrangement.
Choose a camera position for the effect
Treat the window as a direction, not just a bright patch. Take a frame from each of the three positions below, keeping the camera height and focal length the same. Comparing the results makes the difference easier to see than moving around at random.
- Window behind you: The camera points away from the window, and the room receives front light. This is the easiest position for an even, readable view of furniture and color. It can look flat, and the camera or photographer may cast a shadow if close to a sunlit wall or object.
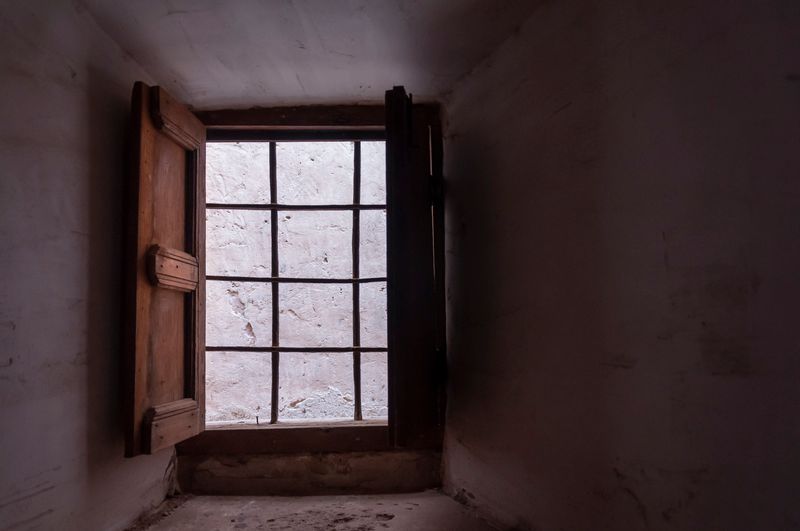
- Window beside you: The camera looks across the room with the window roughly 30–90 degrees to one side. Side light gives furniture, fabric and wall texture more shape. If the nearest side is too bright, turn the camera slightly toward the darker side of the room or let a sheer curtain soften the beam.
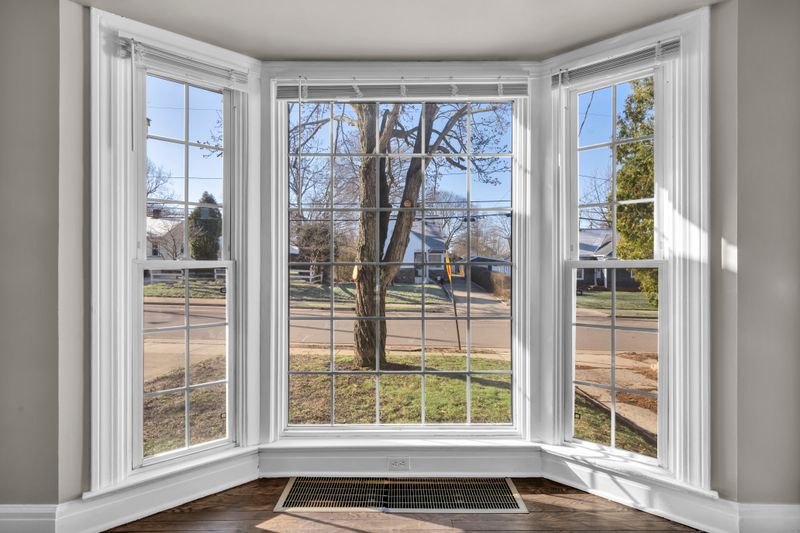
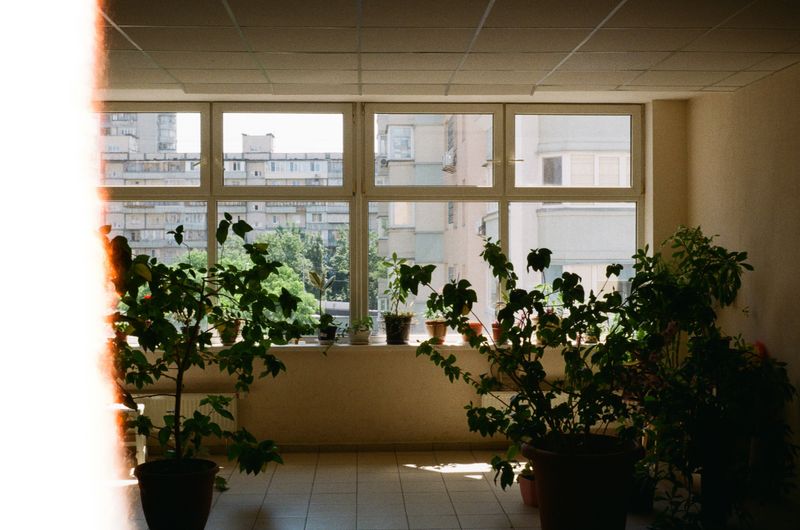
- Window in front of you: The lens points toward the window, so the window or view becomes a bright part of the composition. This can make a room feel open, but the interior may go dark if the camera exposes for the bright glass. Keep the window in the frame only when it adds useful context.
For a room photograph that should feel spacious but still show texture, begin with the window about 45 degrees to the camera’s side. Move a chair or table only if its shadow blocks a useful detail. If the window is behind the subject rather than off to the side, shift the camera laterally until the subject is not just a dark outline.
Pick the time by orientation and direct sun
Window direction gives a useful first guess, but the sun’s path depends on your hemisphere, season and nearby buildings or trees. In the Northern Hemisphere, north-facing windows usually receive steadier indirect daylight, while south-facing windows can receive direct sun. East-facing windows tend to get direct light earlier in the day and west-facing windows later. In the Southern Hemisphere, the north–south pattern reverses. Treat these as clues, then check the actual room.
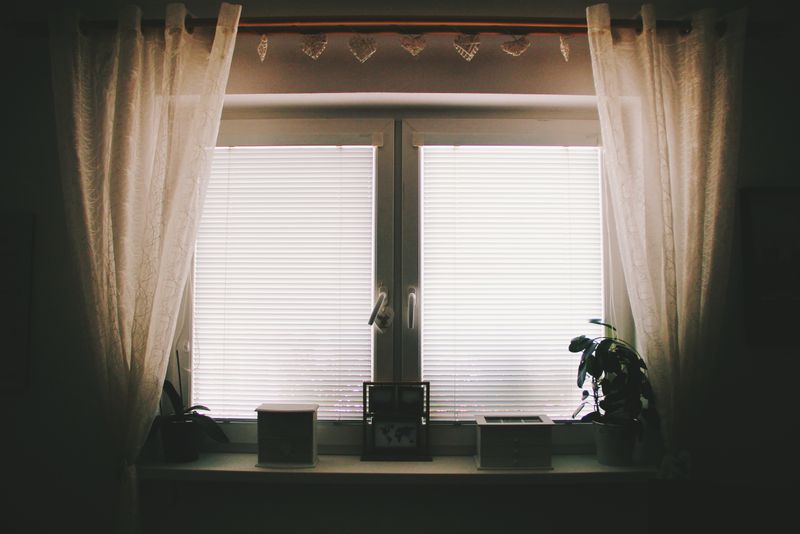
Look for the sun’s edge on the floor, wall or furniture. If a hard-edged patch crosses the subject, wait until it has moved, close a sheer curtain, or compose so the patch is part of the picture rather than a distraction. A sheer curtain spreads and softens incoming light; it does not make the window disappear. A blind that blocks the opening removes much of the daylight, so it is usually a poor choice when the window is the room’s only light source.
For an even view of the whole room, choose a period when the window lights the space without a hard sun patch across the most important area. Overcast daylight can help, as can a time when the sun is on the other side of the building. For dramatic stripes of light, wait for direct sun and decide where the bright shape should land. Recheck after clouds pass; the contrast can change in moments.
Expose for the brightest detail you need
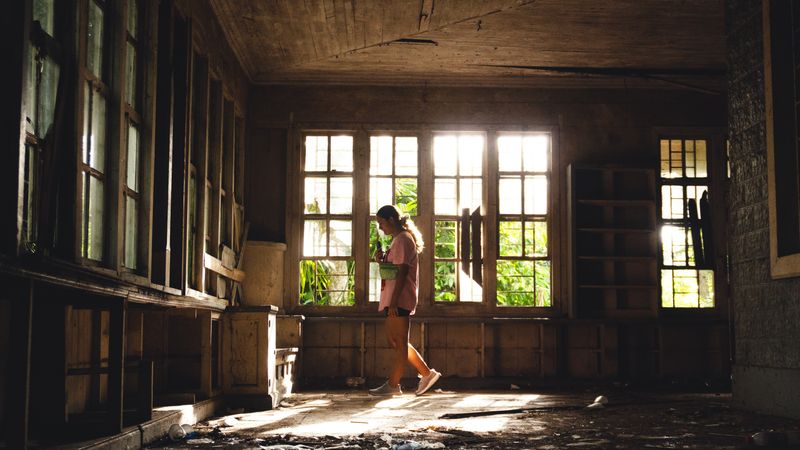
When the window is visible, decide whether the outdoor view needs detail. If it does, set exposure for the brightest important area of the window, then check that the room still has enough shadow detail. A pale window frame or a view that has turned into a blank white shape is a sign that highlights may be clipped. On a camera, review the histogram or highlight warning if available; on a phone, tap a bright but detailed part of the window and lower the exposure slider slightly.
Do not expose for the sun itself or for a tiny reflection unless it is essential to the composition. The goal is to retain detail in the brightest area that matters. If the room then looks too dark, move the camera so the window sits at the side or behind you, or brighten the shadows with a reflector. A tripod can help if the camera needs a longer exposure; keep people and moving curtains still to avoid blur.
With the window behind the camera, exposure is generally simpler because the lens is not facing the brightest part of the room. Still check pale walls and sunlit objects for lost detail. Phone HDR can balance a bright window and a dark interior, but inspect edges around the window and furniture: computational blending can create halos or an unnaturally flat result.
Lift shadows with a white card, then run a test
A white foam board or card redirects some window light into shadow. Start with a piece around 60 × 90 cm (24 × 36 in), matte rather than glossy. Put it opposite the window, just outside the frame, and angle it toward the dark side of the subject. For a small object or a close detail, a card around 20 × 30 cm (8 × 12 in) may be enough. Move it nearer to increase the fill and farther away to reduce it.
In a large room, a small card will not brighten the whole space; use it close to a foreground subject such as a chair, vase or bed corner. Compare a frame with and without the card. If the shadows lose all their shape, turn the board slightly away or move it farther back. Avoid a shiny silver surface for a natural-looking room photograph: it can create a hard, conspicuous reflection.
The color of nearby surfaces also affects reflected light. A warm cream wall, visually approximated on screen by #E8DDCF, may cast a warm tint; a pale blue wall, such as #DCE7EE, can make reflected shadows cooler. These hex values are visual references, not paint specifications. If the room color is important, photograph a neutral white or gray card in the same light and use it to check white balance. Do not mix daylight with a bright lamp during the test, since the two sources can give different color casts.
Use this short sequence to select a reliable position:
- Take one frame with the window behind you, one with it to the side, and one facing it. Keep camera height, framing and focal length consistent.
- Compare shadow shape, window detail and reflections. Choose the frame that gives priority to the room feature you want viewers to notice.
- Return at a different time if a hard sun patch lands in the wrong place. Record the window direction and whether the light was direct or diffused.
- If shadows are too deep, place a matte white card opposite the window and repeat the frame. Adjust the card before changing the camera exposure.
- Check the brightest important area and the overall color. Make one final exposure adjustment, then take the photograph without moving the setup.
Questions
- Should I turn off the room lights?
- Usually, yes. Daylight and household bulbs can have different color casts, making parts of the room look warm or green while other areas look neutral. Turn off visible lamps for a consistent daylight image. Keep a lamp on only when its glow is part of the intended scene.
- Can I photograph the room at night with the window as a background?
- You can, but the window will often read as a dark shape or reflect the room. For a daylight view, photograph while outdoor light is still present and the interior is not much darker than the window. A tripod can steady a longer exposure.
- Why does the room look wider on my phone than it feels?
- A phone’s wide-angle camera includes more of the room, but objects near the frame edges can look stretched. Step back if possible, keep vertical lines upright, and avoid placing important furniture at the extreme edges. A modestly wider framing is usually easier to correct than an ultra-wide one.
 Frame 1