How to Plan a Gallery Wall Before You Hammer a Nail
Published
Plan a gallery wall by measuring the usable wall, arranging full-size paper templates on the floor, testing that layout on the wall, and recording each hanging point from fixed reference lines. Set the grouping’s center line at about 145–150 cm (57–60 in) from the floor, then calculate where every frame’s hardware will land. The result is a layout you can inspect from the doorway and a marked list of nail positions—not a set of estimates made while holding a frame against the wall.
Measure the wall and choose a reference line
Measure the clear wall area from trim to trim, and from the top of the baseboard to any ceiling slope, shelf, switch, or other obstruction. Record the usable width and height, not just the room’s overall dimensions. Measure the furniture below the wall as well: note its width, height, and the distance from its top to the wall. If the grouping will sit above a sofa or sideboard, use the furniture’s edges as visual boundaries when deciding how wide the arrangement should be.
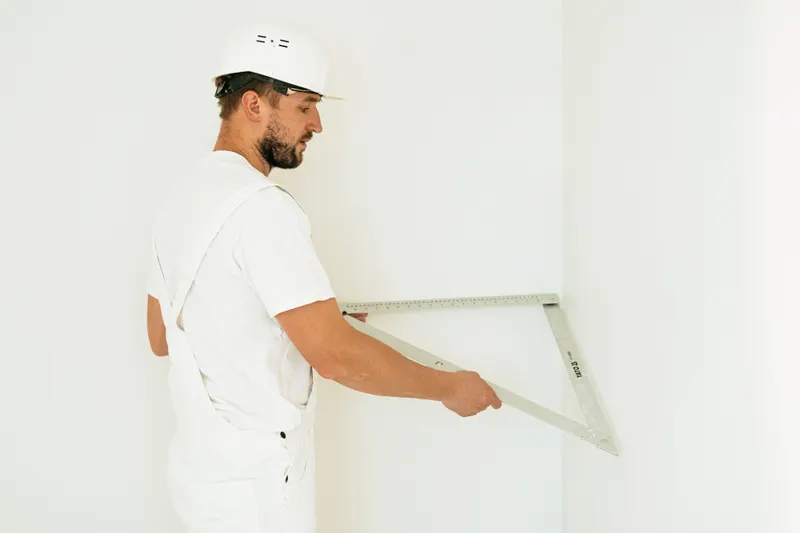
Mark the wall’s horizontal center line on a sketch at 145–150 cm (57–60 in) above the floor. Treat that as the center of the complete grouping, not the hanging height for every individual frame. A low console, tall headboard, or unusually high ceiling may call for a small adjustment; record the chosen height so the layout has one consistent datum. The University of California Cooperative Extension’s Arranging and Hanging Pictures guide is a useful reference for planning picture placement around a room.
If you are also deciding what furniture should sit beneath the arrangement, browse furniture and decor inspiration from a Portuguese furniture retailer for examples of home styles and finishes. Use those images as a reference for mood and scale, while keeping your measurements tied to the actual wall and furniture.
Set the composition on the floor
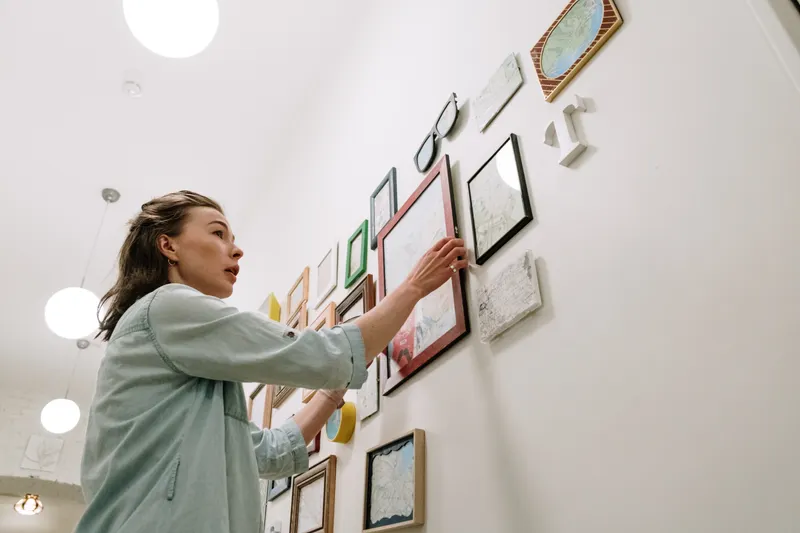
Lay the frames on a clean floor with the fronts facing up, or use clean scrap paper to protect delicate finishes. Keep the actual outside dimensions in mind, including projecting frame edges. Start with the largest piece near the center, then place the remaining frames around it. Make sure the arrangement has a clear outer boundary and that its overall width and height suit the wall area you measured. Square One’s gallery-wall guide also recommends planning the arrangement before committing to wall placement.
Use a tape measure to record the layout’s total width and height, then measure each frame’s left and top position from the grouping’s upper-left corner. These are layout coordinates—not yet nail coordinates. If the arrangement is centered on the wall, subtract half the layout width from the wall’s horizontal midpoint to find its left edge. For example, on a usable wall 300 cm (118 in) wide, a 168 cm (66 in) grouping begins 66 cm (26 in) from the left edge. Write down the calculation so you can reproduce it.
- Label each frame A, B, C, and so on, using removable notes on the back.
- Record each frame’s outside width and height in centimeters and inches.
- Measure each frame’s left and top offset from the grouping’s upper-left corner.
- Photograph the floor arrangement from directly above so you can check the order later.
Make a full-size template for every frame
Trace each frame’s outside edge onto kraft paper, wrapping paper, or joined sheets of scrap paper. Cut out the outline and label it with the frame letter and its outside dimensions. Add a small mark for the top edge, and note which photograph belongs in the frame. Real Simple’s gallery-wall template guide describes using paper patterns to test a composition before making holes; the same principle works with any frame mix.

Now locate the hanging hardware on the real frame. Measure from the top edge to the point where the frame actually rests on its wall support. For a wire, pull it upward to the tension it will have when hung and measure the wire’s highest bearing point. For two D-rings, measure the horizontal distance of each ring from the frame’s left edge and its vertical drop from the top. Draw those points on the template and label them clearly. Do not substitute the frame’s center or the position of a loose wire for the hardware’s actual support point.
Tape the complete layout to the wall
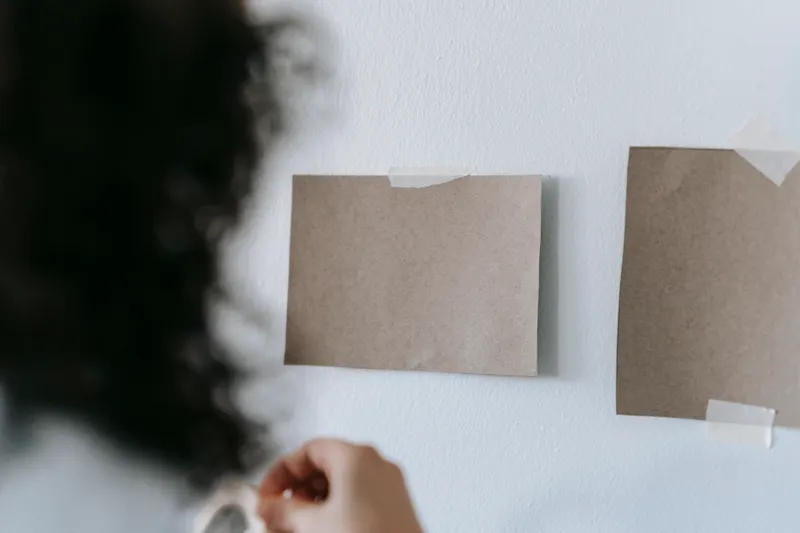
Transfer the floor arrangement’s coordinates to the wall using the chosen center line and left edge. Tape each paper template in place with painter’s tape, matching its top and side edges to the recorded positions. Keep the marked hardware points visible. If the grouping sits above furniture, begin by testing a gap of about 15 cm (6 in), then check for lamps, cushions, switches, and other objects that affect the usable space. This is a trial measurement, not a fixed rule; write down any adjustment and move the whole layout deliberately.
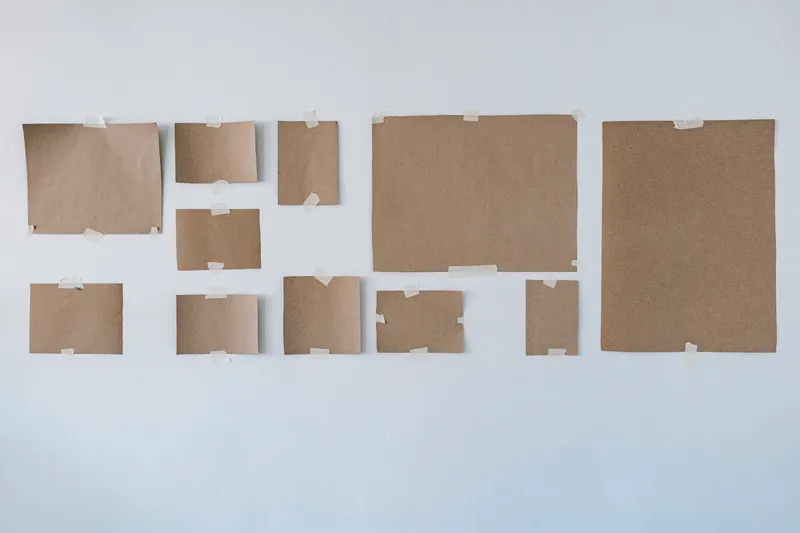
Step back to the doorway and check the outer shape, alignment, and balance. Then inspect from the main seat and from close range. Look for a frame that crowds an obstacle, an unintended gap, or a grouping that appears off-center in relation to the furniture. Make changes by moving the paper templates, not by guessing where a frame might look better once it is hung. When the layout works from the important viewpoints, press the tape edges down and leave the templates in place while you make the hanging map.
Convert the templates into exact hanging points
Use the wall’s left edge as x = 0 and the floor as y = 0. Measure each template’s upper-left corner from those two references. Then use the hardware marks on that template to calculate each support point. For a single hanging point, add its horizontal offset to the template’s left coordinate; subtract its vertical drop from the template’s top coordinate. For two D-rings, calculate both points separately. The McMaster Museum Gallery Preparator’s hanging guidance is a useful reminder to plan around the art’s actual hardware and support, rather than relying on visual estimates.
For example, if a frame template starts 66 cm (26 in) from the wall’s left edge and 204 cm (80 in) above the floor, and its wire’s bearing point is 8 cm (3 in) below the top edge, mark the support at x = 66 cm (26 in), y = 196 cm (77 in). If the support is horizontally offset, include that offset in x as well. Repeat the calculation for each frame and list the positions in the same order as the labels on your templates.
- Frame letter and location on the wall.
- Horizontal coordinate from the wall’s left reference edge.
- Vertical coordinate above the floor.
- Hardware type and number of support points.
- A note if the marked point is for a hook, a nail, or a specific part of the hanging hardware.
Check the map before drilling
Read every coordinate back against the taped templates. Confirm that a point marked for two D-rings has not been confused with the frame’s center, and that a wire measurement was taken under tension. Check the wall material and choose a fixing appropriate to the frame’s weight and the wall; the wall mark identifies the location, but the fixing method depends on what is behind the surface. Remove one template at a time as you install the supports, keeping the remaining paper in place as a visual guide. If any measurement fails to match the map, stop and recalculate before making a hole.
Questions
- Should I center the biggest frame in the arrangement?
- Not automatically. Place it where it gives the overall group a stable shape, then judge the full outline on the floor and in the taped wall layout. The group’s center line is more important than the center of any single frame.
- Can I use a wire measurement from the frame while it is hanging loose?
- No. Pull the wire upward to the position it reaches under the frame’s weight, then measure the bearing point from the top edge. A loose wire can make the calculated support point too high.
- What if a frame has two hanging rings?
- Mark both rings on its paper template and calculate two separate wall coordinates. Check the distance between them against the actual frame before installing either support.
- How do I keep a paper template from shifting while I check the layout?
- Use painter’s tape at the corners and add a small piece at the middle of a long edge. Recheck the template against your recorded top and side coordinates after you step back.
 Frame 1