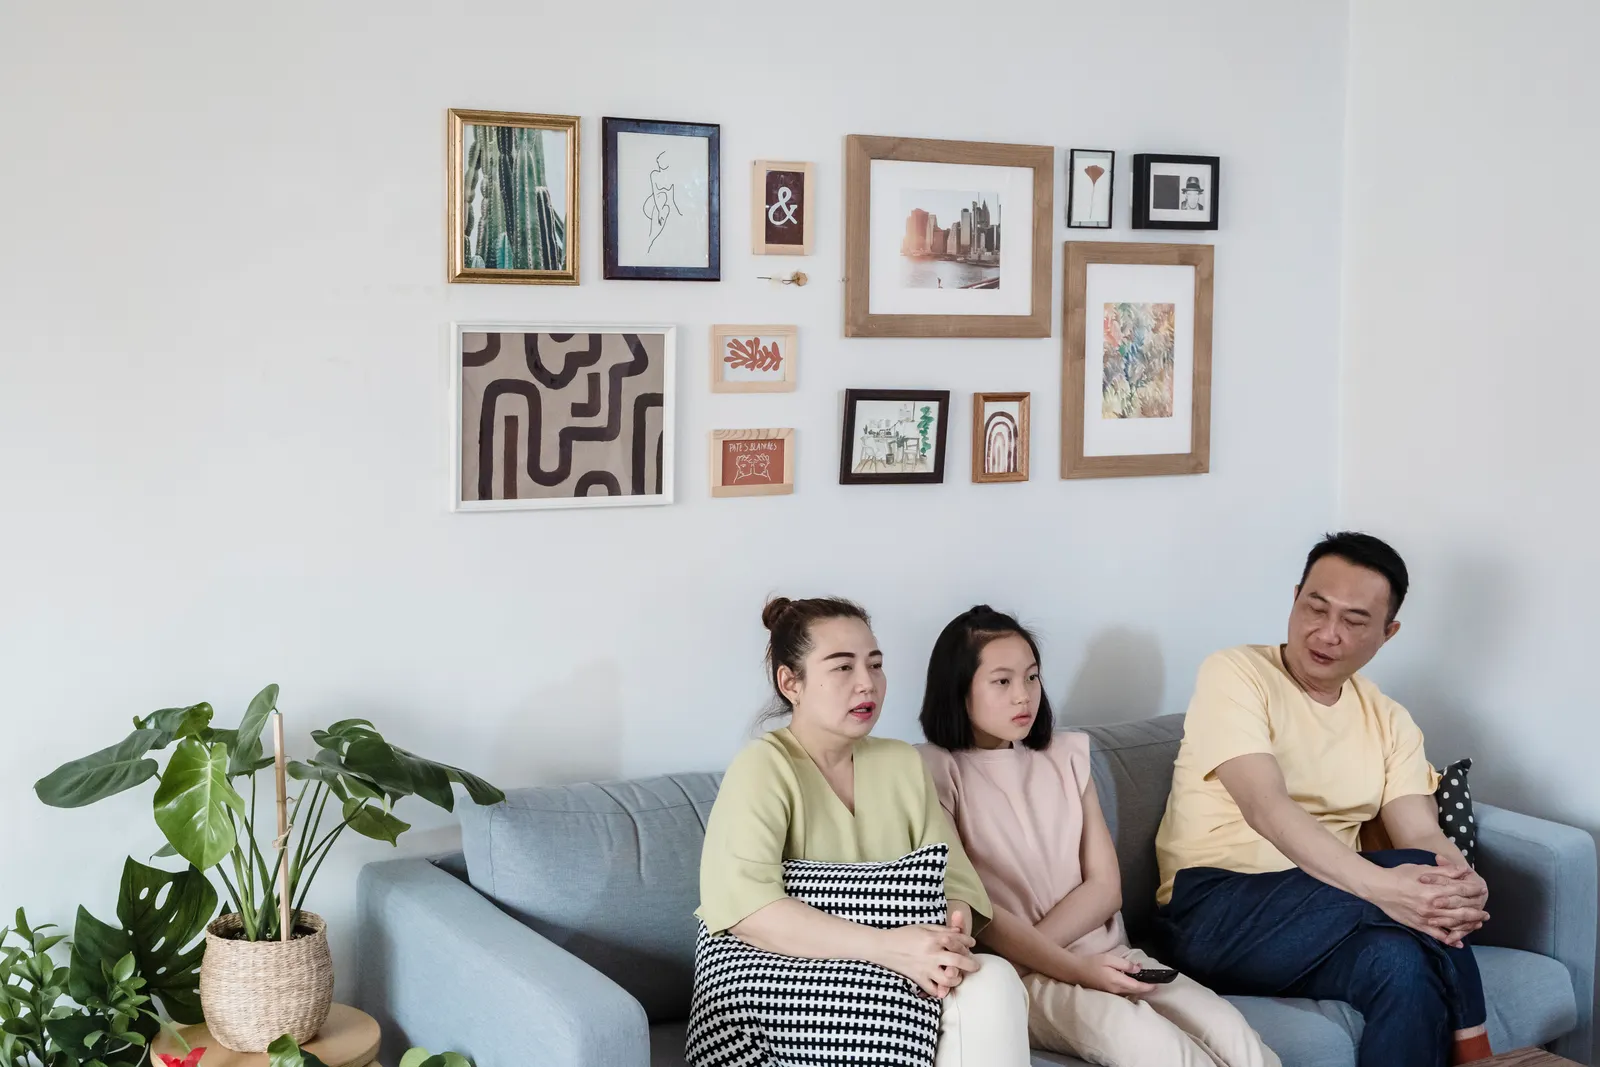
Displaying Family Photos Above a Sofa: A Measured Plan
Published
Center a family-photo grouping about two-thirds of the sofa’s width, then set its lowest frame high enough to clear the sofa and the heads of people sitting there. Measure the sofa, test the layout on paper, and adjust the arrangement before making holes in the wall.
Measure the sofa before choosing frames
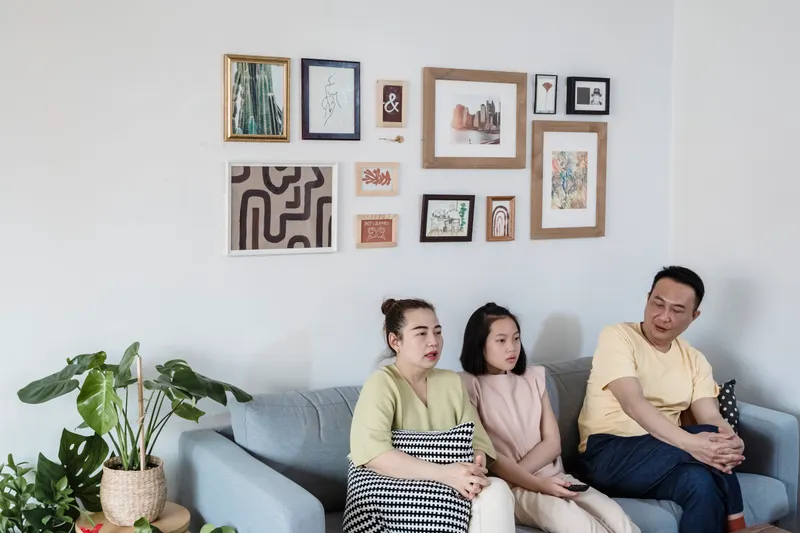
Measure the sofa from outer arm to outer arm, not just the seat cushions. Make a note of its midpoint and the width of any unusually wide arms. A gallery grouping should read as connected to the sofa without stretching to its edges; a useful starting range is about 60 to 70 percent of the sofa’s width, with two-thirds as the target. Center the grouping on the sofa, even if the sofa itself is slightly off-center on the wall.
For example, a sofa 210 cm (83 in) wide suits a grouping around 140 cm (55 in) wide. That leaves about 35 cm (14 in) of sofa visible at each side. Measure the grouping by its outside edges, including the frames, rather than by the paper print sizes. If the sofa is close to a doorway or a tall cabinet, keep the full cluster inside the visual space available above it instead of forcing the two-thirds ratio.
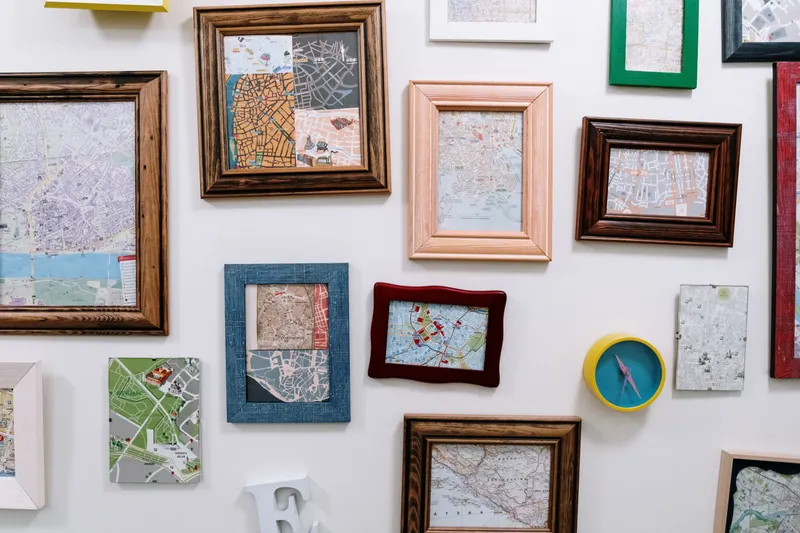
Sketch the intended outer boundary on paper and mark the sofa midpoint. A strip of painter’s tape at each side can make the width easier to judge from the doorway. For a narrow sofa or a busy wall, a slightly smaller group can feel calmer; for a long sofa on a broad, blank wall, move toward the upper end of the range while preserving space at the edges.
Set the height around people who sit there
Start with the sofa’s back: measure from its highest point to the proposed bottom edge of the lowest frame. A gap of 20–25 cm (8–10 in) is a practical first mockup, not a rule that overrides comfort. The frame should feel attached to the sofa visually, but it should not sit so low that a person’s head bumps it when leaning back. Check the full frame depth too, because a projecting frame can catch a head even when its front face seems clear.
Have the tallest person who regularly uses the sofa sit and lean into their usual position. Mark the outline of their head on the wall with removable tape. If it overlaps the frame area, raise the lower edge or shift the affected frame sideways, then check the whole grouping again. This seated test matters more than a standard eye-level number when artwork hangs directly above a sofa.
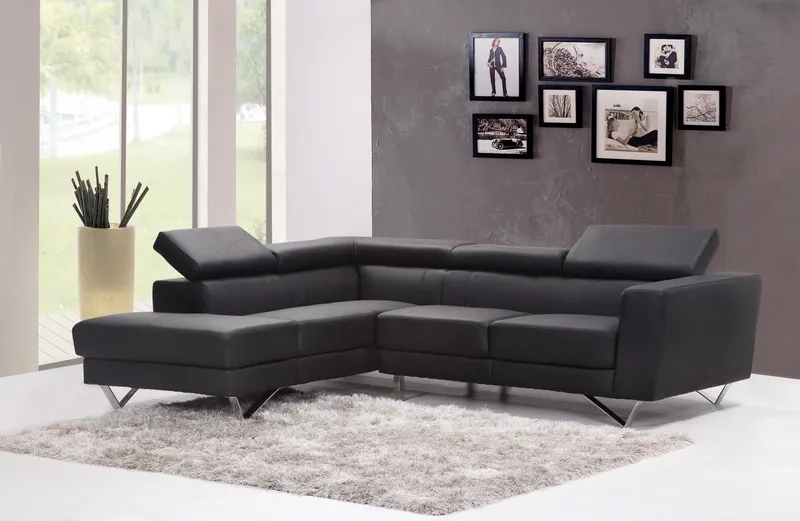
Architectural Digest’s hanging guide gives 145 cm (57 in) as a familiar center-of-art reference. Use that as a secondary check: it is not a fixed target for a grouping above furniture. With a tall sofa back or a tall arrangement, seated clearance may require the group’s center to sit higher. Measure the bottom edge, center, and top edge from the floor so you can see how the full composition fits the wall.
Choose symmetry or a loose, balanced layout
A symmetrical arrangement has a clear center and matching visual weight on both sides. It suits photographs that already share a structure, such as a set of portraits, or frames in the same size and finish. Place one frame over the sofa midpoint, then mirror the number and position of frames to the left and right. The Real Simple guide to symmetrical layouts is a useful reference for this kind of repeated structure.
An asymmetric arrangement can still feel balanced without matching frame-for-frame. Put a larger photograph near the center, then balance its visual weight with two or three smaller frames on the opposite side. Keep the outer edges within the planned width, and avoid a narrow frame sticking far above or below the rest unless that vertical movement is intentional. Bunny Williams and J. Pocker’s gallery-wall guide is a helpful reference for planning a group as one composition rather than as isolated frames.
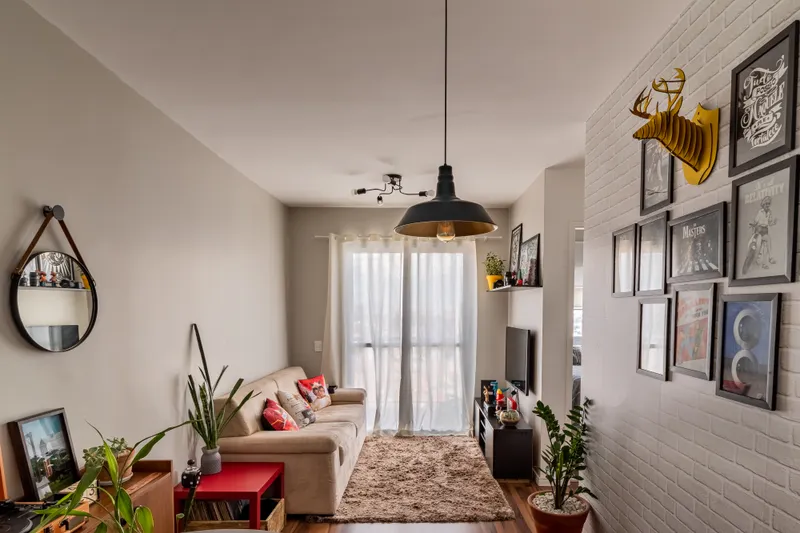
For either approach, keep the spacing consistent before varying the frame sizes. Gaps of 5–8 cm (2–3 in) work well as a starting range for a compact grouping; a smaller gap of about 4 cm (1.5 in) can unite many small frames. Check the gaps between the frames themselves, not just between the prints inside their mats. Repeat one frame finish or mat color to give mixed photographs a visual connection.
Mix family-photo sizes with a clear hierarchy
Choose one or two photographs to act as anchors, then let smaller images support them. An anchor might be a close family portrait or a landscape image with a strong, simple shape. For example, combine one 20 × 25 cm (8 × 10 in) print with several 13 × 18 cm (5 × 7 in) prints and a few 10 × 15 cm (4 × 6 in) images. These are print sizes; measure the outside of each frame separately when calculating the overall grouping.
Avoid placing every small photograph in one corner. Distribute the small frames around the anchor images so the group does not become visibly heavy on one side. Mix portrait and landscape orientations, but repeat each orientation at least once when possible; a single unusual frame can otherwise pull attention away from the family photographs. Similar mats can make images from different phones, cameras, or years feel related without requiring identical crops.
For a Portuguese furniture retailer’s perspective on furnishing relaxed, contemporary rooms, living room furniture and decor can help you think about the sofa and surrounding materials; keep the photo layout independent of any single furnishing trend.
Mock up the wall and hang from the center
Before hanging, cut paper to the outside dimensions of each frame and label each piece with the photograph or frame it represents. Tape the templates to the wall inside the marked grouping boundary. Bunny Williams and J. Pocker’s guide supports planning the arrangement before installation; paper templates let you check this particular sofa wall at its actual scale. Sit on the sofa, stand at the doorway, and look at the templates from both positions.
- Measure the sofa width and mark its midpoint with removable tape.
- Mark the proposed group width, aiming for about two-thirds of the sofa width.
- Set the lowest frame’s starting point 20–25 cm (8–10 in) above the sofa back, then test seated head clearance.
- Arrange the paper templates, keeping the planned gaps and balancing large and small photographs.
- Move templates until the group feels centered and clear of heads, doors, lamps, and nearby furniture.
- Transfer each hanging point from the template, then remove the paper and install the frames.
When the templates work from both the doorway and the sofa, measure the distance between neighboring frame edges once more and write it beside the layout. Hang the central or anchor frame first, then work outward while checking each frame against the marks. If the wall slopes or the sofa is not level, use the sofa midpoint and the frame tops as references rather than assuming the ceiling or floor is perfectly straight.
Questions
- Should a gallery wall above a sofa be centered on the sofa or the wall?
- Center it on the sofa if the display is meant to belong to that seating area. If the sofa is off-center on the wall, keep the arrangement aligned with the sofa rather than splitting the entire wall in half.
- What if a two-thirds-width grouping looks too small?
- Check the width from the doorway and make sure you measured the outside edges of the frames. You can expand toward 70 percent of the sofa width, but keep the grouping clear of adjacent doors, cabinets, and other objects.
- Can I hang family photos in different frame styles?
- Yes. Repeating a mat color, a frame finish, or a consistent gap can connect frames that are otherwise different. Use paper templates to judge the mix at full scale.
- Is a centered, symmetrical layout always the safest choice?
- No. Symmetry works well for matching sets, while an asymmetric arrangement can accommodate different photo sizes. In either case, center the overall visual group above the sofa and test it from seated and standing positions.
 Frame 1