Frame Sizes and Spacing: Numbers for an Intentional Wall
Published
A gallery wall looks intentional when the frame sizes, gaps, and overall width relate to the furniture and wall around them. Start by measuring the prints and the available space, then use a few dependable ranges: 5–8 cm (2–3 in) between frames, 20–25 cm (8–10 in) above furniture, and a grouping around two-thirds to three-quarters of the furniture’s width. Treat these as starting points, not laws. The right layout also depends on frame depth, image scale, and how the room is used.
Start with the print, not the frame
Measure the visible print or photograph before choosing a frame. A frame’s stated size usually describes the opening it holds, not its outside dimensions; the outer edge can be several centimeters wider on each side. A mat also changes the opening. Write down both the print size and the finished frame’s outside width and height, since the latter determine the gallery wall’s footprint.
Useful paper references include ISO A sizes: A4 is 21 × 29.7 cm (8.27 × 11.69 in), A3 is 29.7 × 42 cm (11.69 × 16.54 in), and A2 is 42 × 59.4 cm (16.54 × 23.39 in). These are paper dimensions, not promises about the opening or outer dimensions of a frame. Common photo-print formats include 10 × 15 cm (about 4 × 6 in), 13 × 18 cm (about 5 × 7 in), 20 × 25 cm (about 8 × 10 in), and 20 × 30 cm (about 8 × 12 in). Availability and exact nominal sizes vary by maker, so measure the actual print rather than relying on the label.
For a simple frame with no mat, choose an opening that fits the print and check the maker’s allowance for overlap. If an image has a white border you want to show, measure the image area separately from the paper edge. For a group, record each frame’s outside dimensions on a list; mixing opening sizes is easy, but the outer measurements are what you will use to draw and space the layout.
- A4 paper: 21 × 29.7 cm (8.27 × 11.69 in).
- A3 paper: 29.7 × 42 cm (11.69 × 16.54 in).
- A2 paper: 42 × 59.4 cm (16.54 × 23.39 in).
- Common photo formats: 10 × 15 cm (4 × 6 in), 13 × 18 cm (5 × 7 in), and 20 × 30 cm (8 × 12 in).
Choose mat widths for the image
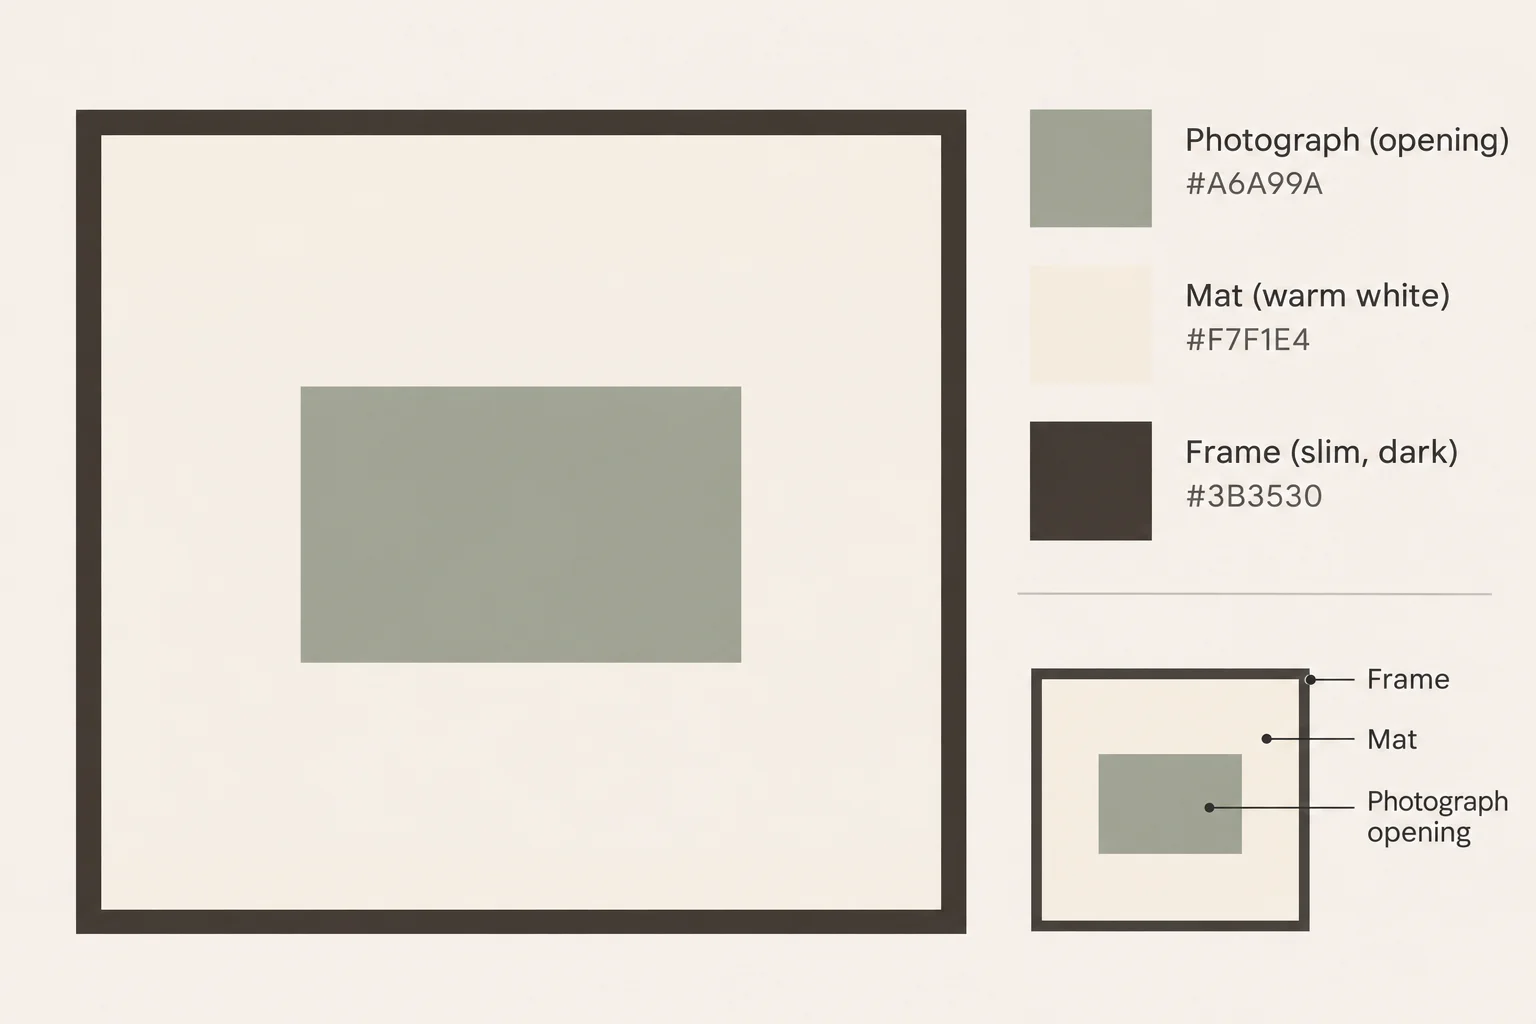
A mat gives a small print breathing room and makes the paper feel more substantial on a large wall. As a starting range, use a visible mat border of 5–8 cm (2–3 in) on each side of a small or medium print. A larger photograph can carry a wider mat, while a tightly cropped image may look stronger with a narrow border or no mat. Keep the mat width consistent within a set when the prints have similar scale; vary it when the photographs differ greatly in size or visual weight.
For a 20 × 25 cm (8 × 10 in) print with a 5 cm (2 in) mat on each side, the opening is approximately 30 × 35 cm (12 × 14 in), before adding the frame moulding. That gives a useful estimate for planning, but check the actual mat opening and overlap with the framer or frame maker. A slightly wider lower border can help a small print feel settled; make the difference deliberate, such as 7.5 cm (3 in) at the bottom and 5 cm (2 in) at the top and sides, rather than letting an uneven cut look accidental.
For photographs that matter as keepsakes, use a mat and backing suitable for long-term display, and keep the image from touching the glazing. The Canadian Conservation Institute’s guidance on matting and framing explains why materials and construction affect the care of works on paper. A mat is not only a decorative margin: it can also create separation between the print and glazing.
Set the group’s width and hanging height
Over a sofa, sideboard, or bed, start with a gallery grouping about two-thirds to three-quarters as wide as the furniture below it. For a 210 cm (83 in) sofa, that suggests a grouping roughly 140–158 cm (55–62 in) wide. Measure the whole group from its leftmost to rightmost frame, including the gaps. A narrower arrangement can suit a small, quiet image set; a wider one may work when the furniture is visually substantial or the wall is broad.
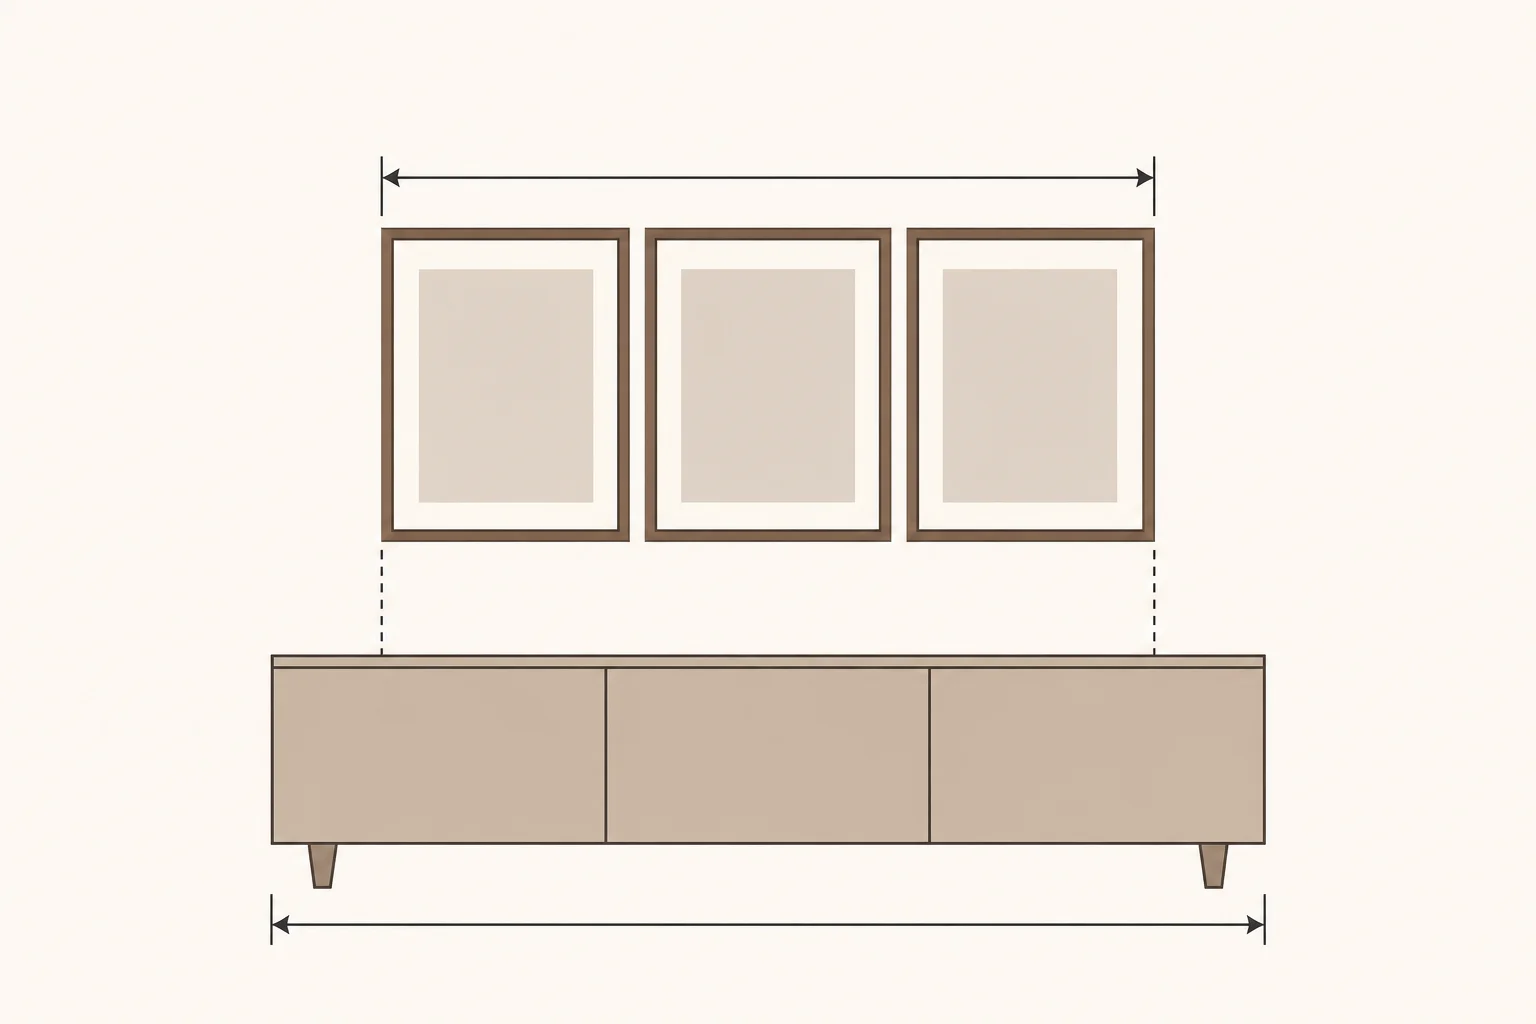
Keep the lowest frame about 20–25 cm (8–10 in) above the furniture as a first test. Measure from the furniture’s top to the bottom edge of the nearest frame, not to the center of the composition. If a lamp, vase, or tall chair back occupies the gap, increase the clearance enough to prevent the objects and frames from colliding visually. Conversely, a low sideboard may need a tighter gap so the art and furniture read as one composition.
For a wall without furniture, a useful starting point is a group center around 145–152 cm (57–60 in) above the floor. That is a viewing-height reference, not a fixed rule for every room. A high ceiling does not automatically mean the pictures should be pushed upward. If a gallery sits beside a staircase, follows a sloped ceiling, or must relate to a doorway, align the group with that feature instead. When a furniture clearance and a general center height conflict, the furniture relationship usually gives the more coherent result.
Space frames, then check the whole silhouette
Leave 5–8 cm (2–3 in) between neighboring frames for a balanced, readable group. Use the smaller end when the wall is crowded or the frames are small; use the wider end when mouldings are thick, images need room, or the arrangement is meant to feel loose. Gaps do not have to be identical everywhere, but visible inconsistency should be intentional. Measure from outer frame edge to outer frame edge, not from the image openings.
Before choosing positions, sketch the outside shapes to scale on paper or mark them with removable paper on the wall. Add the gap measurements and calculate the total width: three frames each 30 cm (12 in) wide with two gaps of 6 cm (about 2.4 in) make a group 102 cm (about 40 in) wide. This simple sum prevents a layout that looks right on a table but runs too wide once hung. A top-down or straight-on diagram can make the dimensions easier to see before anything is drilled.
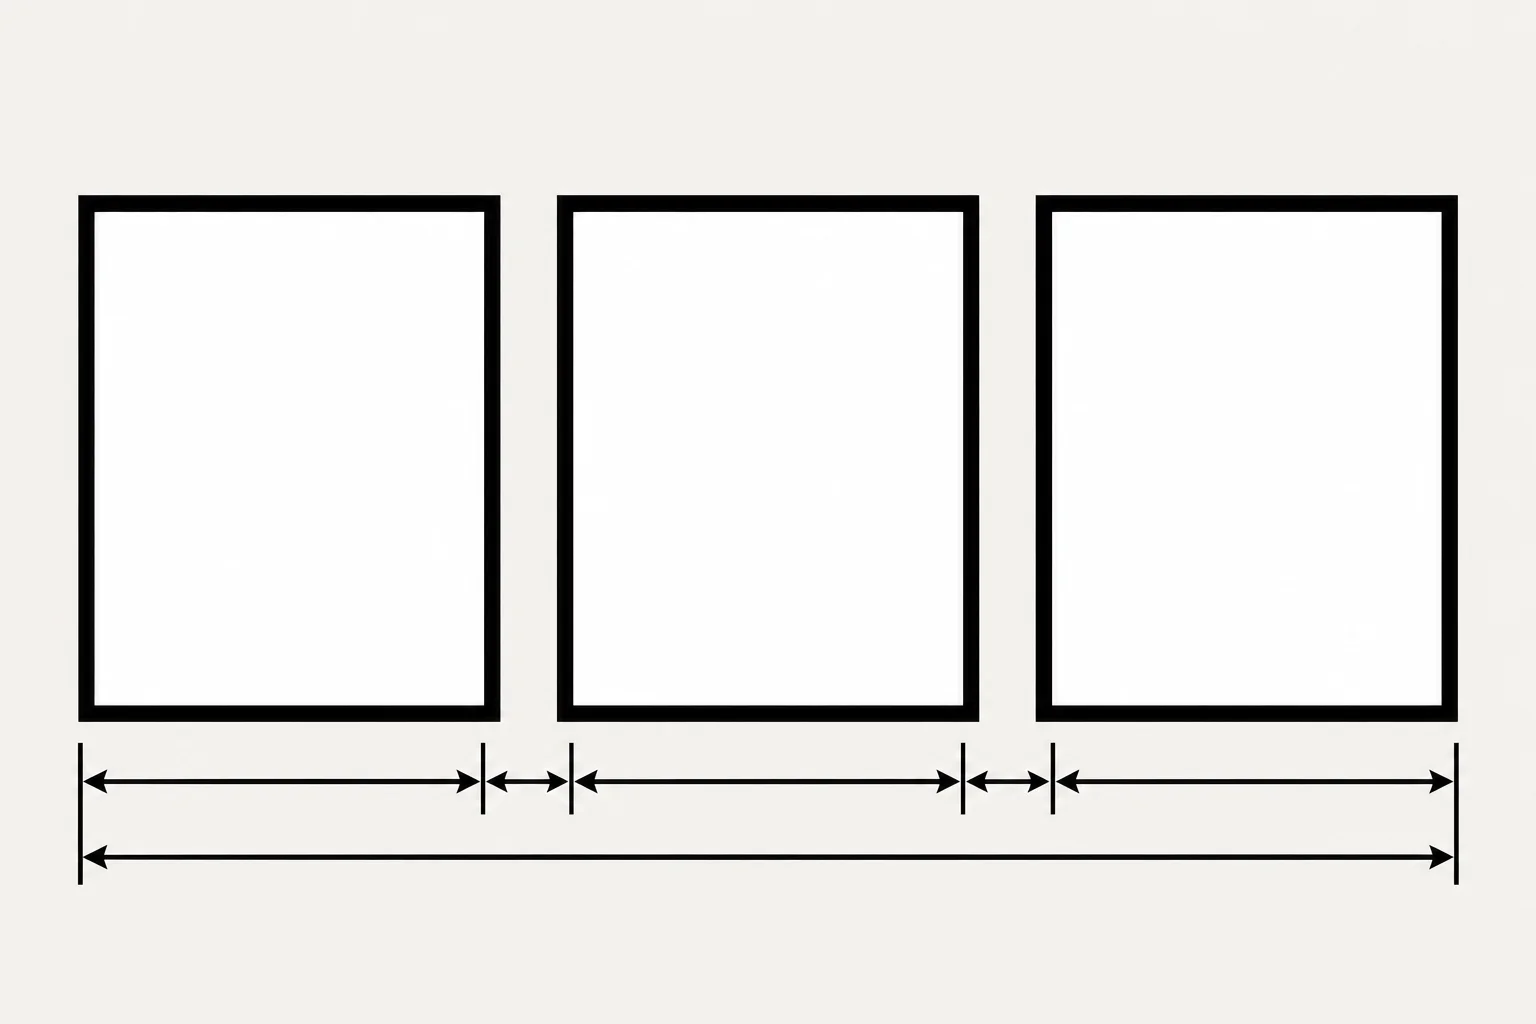
- Two frames: add both outside widths and one gap of 5–8 cm (2–3 in).
- Three frames in a row: add all three outside widths and two gaps of 5–8 cm (2–3 in).
- A grid: use the same gap horizontally and vertically for a crisp, orderly effect; vary the gaps only when a looser rhythm is intended.
- Mixed sizes: align selected edges or centers, then judge the outside silhouette as a whole.
Mock up the layout before hanging
Cut paper templates to each frame’s outside dimensions and label them with the print or frame name. Tape the templates to the wall with removable painter’s tape, then measure the gaps and the group’s distance from nearby furniture. Look from the doorway and from the usual seat, since a layout can read differently at those distances. Adjust the paper, not the hooks, until the arrangement feels balanced.
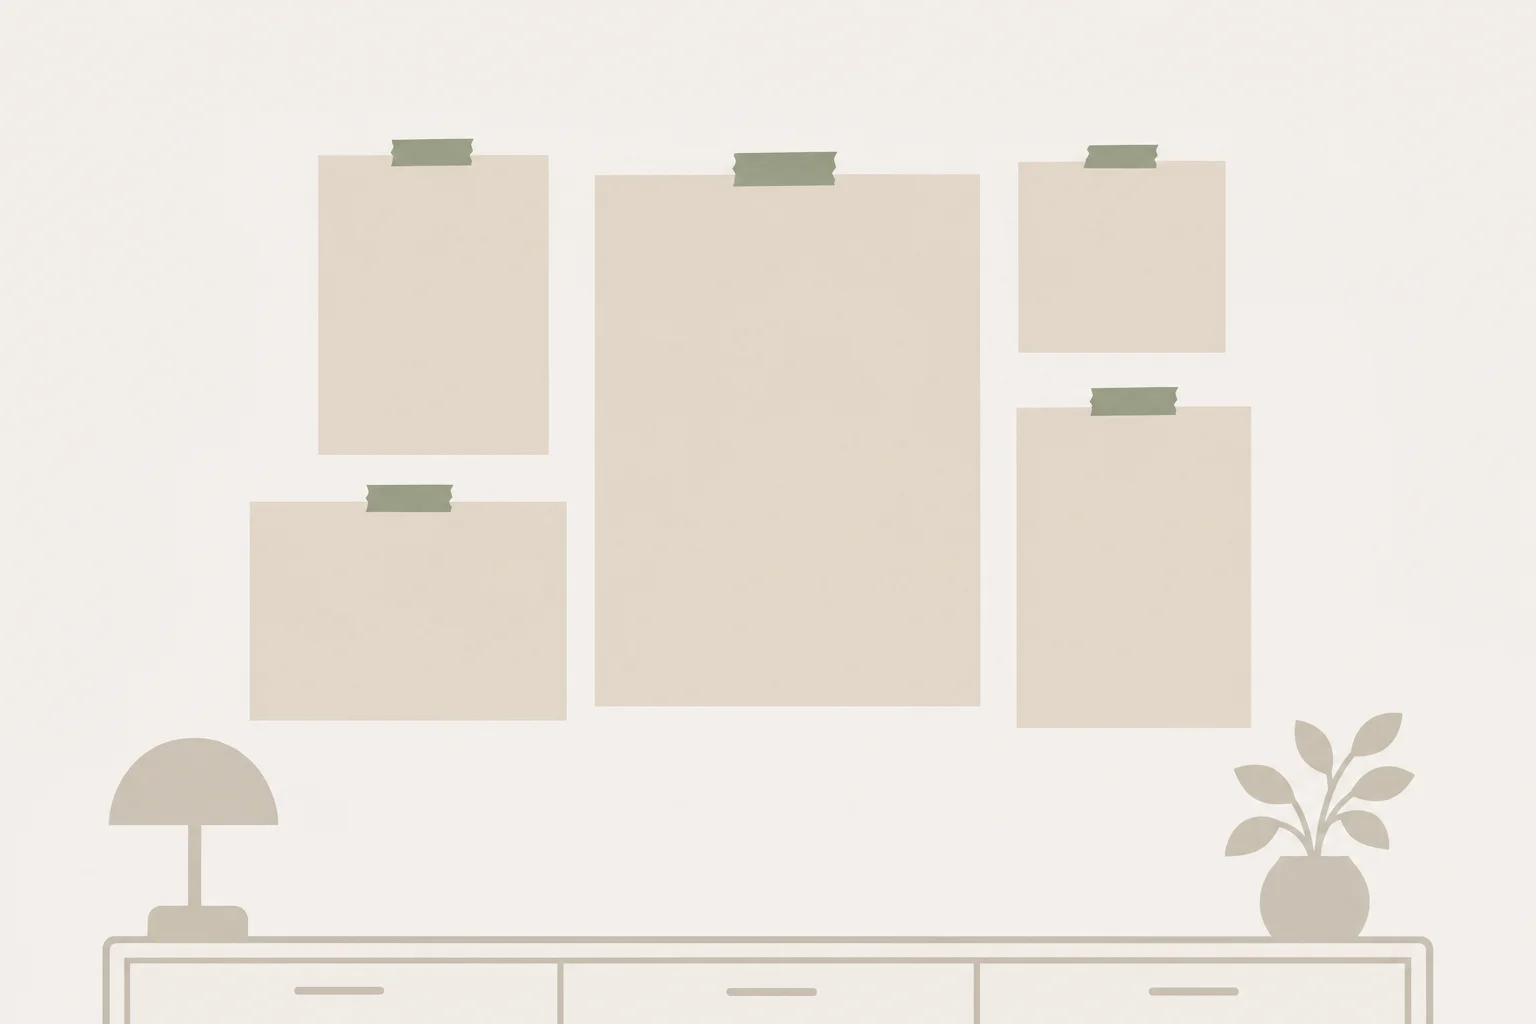
Once the templates are placed, mark the hanging point for each actual frame. Do not assume the hook sits at the frame’s top edge: wire, D-rings, and sawtooth hangers each change the distance. Measure from the top of the frame to the point that rests on the nail or picture hook, transfer that measurement to the wall, and confirm it with a level. For heavy frames, use a fixing suited to the wall construction and frame weight rather than relying on the frame’s size alone.
Break the spacing or width rules when the wall gives a clear reason. A narrow strip of wall may need a vertical stack instead of a wide arrangement; an unusually large photograph can anchor a group with smaller images tucked closer around it. The numbers are there to make the choices repeatable. A paper mock-up lets the eye decide whether the measured arrangement suits the actual room.
Questions
- Should every frame in a gallery wall be the same size?
- No. Repeating sizes creates order, while varied sizes can make the group feel collected. Keep another element consistent—such as frame color, mat width, or alignment—to help different formats read as one arrangement.
- Do I measure frame spacing from the glass or the outer edge?
- Measure between the outer edges of the frames. That is the visible gap once the frames are on the wall; glass or image-opening measurements omit the moulding.
- Can I hang a frame directly above a radiator or fireplace?
- Heat and changing environmental conditions can affect photographs and other works on paper. Choose a position away from direct heat where possible, and consult a qualified conservator for a valuable or fragile print.
- How can I tell whether a layout is too high?
- Check the group from the normal viewing position and compare its center with nearby furniture and architectural features. If the group feels detached from a sofa or sideboard, reduce the gap or lower the arrangement rather than following a floor-based center height automatically.
 Frame 1